
Step 1:
We work with the Mini Repair Kit. Alternatively, you can also use the PREMIUM Repair Kit (inclusive the AQUA Brush Pen Clear Lacquer to seal the repaired area). The area to be repaired has to be clean, dry and free from grease. If necessary, remove any loose or sticking out particles.
We work with the Mini Repair Kit. Alternatively, you can also use the PREMIUM Repair Kit (inclusive the AQUA Brush Pen Clear Lacquer to seal the repaired area). The area to be repaired has to be clean, dry and free from grease. If necessary, remove any loose or sticking out particles.
Step 2:
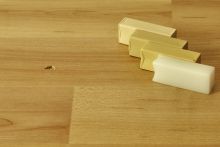
Choose matching colors. Take care to apply always several colors from light to dark.
Choose matching colors. Take care to apply always several colors from light to dark.
Step 3:
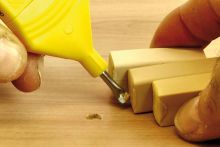
After activating the melter, melt off small portions of filler and mix together and...
After activating the melter, melt off small portions of filler and mix together and...
Step 4:
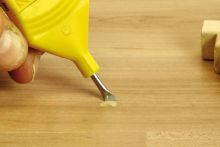
... let wax mixture flow into the damage area. Note: Always slightly overfill the area!
... let wax mixture flow into the damage area. Note: Always slightly overfill the area!
Step 5:
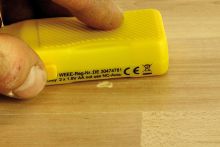
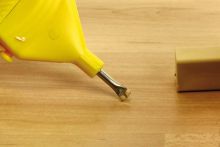
Use the grooves of the yellow battery melter to strip off excess material. Note PREMIUM Repair Kit: Use the sharp grooves of the Special Filler Applicator.
Use the grooves of the yellow battery melter to strip off excess material. Note PREMIUM Repair Kit: Use the sharp grooves of the Special Filler Applicator.
Step 6:
For precise adjustment, imitate the grain pattern with a darker color filler stick. Then again, level off excess material with the planer grooves.
For precise adjustment, imitate the grain pattern with a darker color filler stick. Then again, level off excess material with the planer grooves.
Step 7:
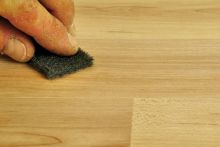
Use the grey sanding pad to degrease the area. Note: To protect the repaired area, apply a sealing with the AQUA Brush Pen Clear Lacquer (available in our shop or included in the PREMIUM Repair Kit).
Use the grey sanding pad to degrease the area. Note: To protect the repaired area, apply a sealing with the AQUA Brush Pen Clear Lacquer (available in our shop or included in the PREMIUM Repair Kit).
