Step 1:
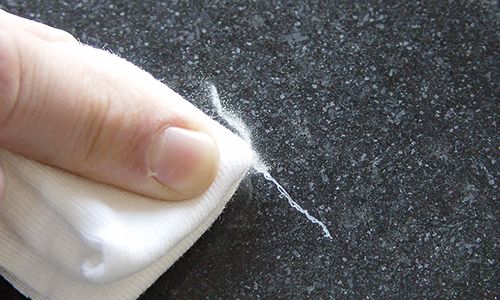
Ensure the area is dry and at room temperature. Preheat if necessary. Clean the damaged area thoroughly with a cleaner, allowing it to evaporate for about 30 seconds.
Ensure the area is dry and at room temperature. Preheat if necessary. Clean the damaged area thoroughly with a cleaner, allowing it to evaporate for about 30 seconds.
Used Products:
REPAIRLUX® Repair System Natural and Artificial Stone
REPAIRLUX® Repair System Natural and Artificial Stone
Step 2:
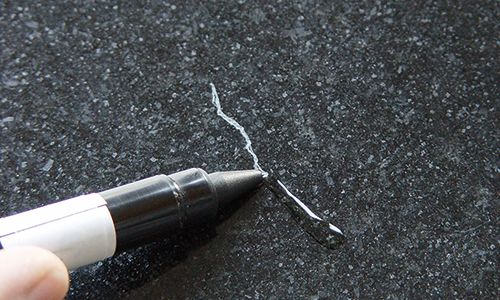
Apply a thin layer of transparent liquid to the scratch. Cover with protective film and press down lightly without forcing it into the scratch.
Apply a thin layer of transparent liquid to the scratch. Cover with protective film and press down lightly without forcing it into the scratch.
Used Products:
REPAIRLUX® Repair System Natural and Artificial Stone
REPAIRLUX® Repair System Natural and Artificial Stone
Step 3:
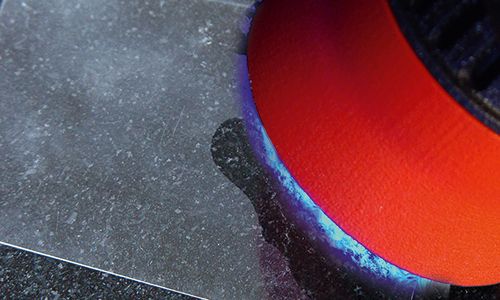
Position the CompactLight over the scratch, curing the material along the scratch for 30 seconds per cm². The CompactLight will automatically switch off after each 30-second interval.
Position the CompactLight over the scratch, curing the material along the scratch for 30 seconds per cm². The CompactLight will automatically switch off after each 30-second interval.
Used Products:
REPAIRLUX® Repair System Natural and Artificial Stone
REPAIRLUX® Repair System Natural and Artificial Stone
Step 4:
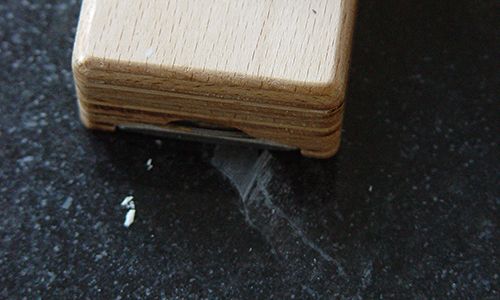
Remove any excess material with the Metal Planer using quick, light movements. For marble, we recommend using the Cuttlebone.
Remove any excess material with the Metal Planer using quick, light movements. For marble, we recommend using the Cuttlebone.
Used Products:
REPAIRLUX® Repair System Natural and Artificial Stone
REPAIRLUX® Repair System Natural and Artificial Stone
Step 5:
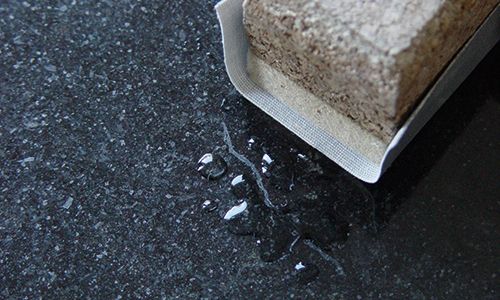
Wet-sand the area with Micro Sanding Cloths in 2400, 3200, and 4000 grits, securing the cloth smoothly over the Sanding Block.
Wet-sand the area with Micro Sanding Cloths in 2400, 3200, and 4000 grits, securing the cloth smoothly over the Sanding Block.
Used Products:
REPAIRLUX® Repair System Natural and Artificial Stone
REPAIRLUX® Repair System Natural and Artificial Stone
Step 6:
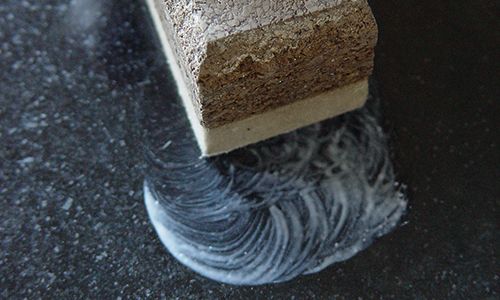
Apply Polishing Paste, polishing with the felt side of the Sanding Block. Alternatively, a felt disc can be used for mechanical polishing. Polish again if the desired gloss level isn’t achieved.
Apply Polishing Paste, polishing with the felt side of the Sanding Block. Alternatively, a felt disc can be used for mechanical polishing. Polish again if the desired gloss level isn’t achieved.
Used Products:
REPAIRLUX® Repair System Natural and Artificial Stone
REPAIRLUX® Repair System Natural and Artificial Stone
Step 7:
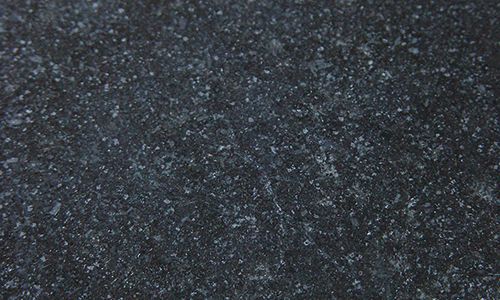
Done!
Done!
Before

After

