Step 1:
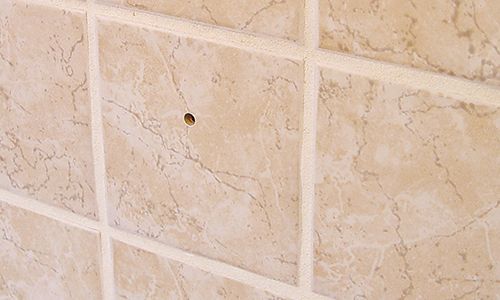
Ensure the area to be repaired is clean, dry, and free of grease. Remove any loose or protruding particles if necessary.
Ensure the area to be repaired is clean, dry, and free of grease. Remove any loose or protruding particles if necessary.
Step 2:
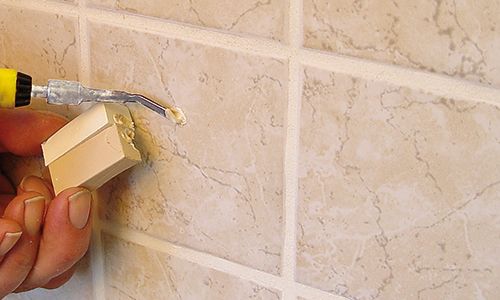
Use the hot tip of the Gas Heating Iron to apply the Ceramic Filler in the appropriate colour to the damage. Always work from light to dark. The different colours can also be mixed together to achieve the exact shade. Clean the melter tip after each melting process.
Use the hot tip of the Gas Heating Iron to apply the Ceramic Filler in the appropriate colour to the damage. Always work from light to dark. The different colours can also be mixed together to achieve the exact shade. Clean the melter tip after each melting process.
Step 3:
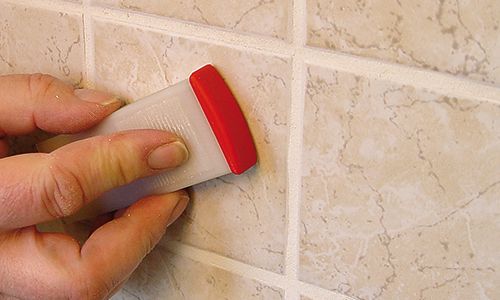
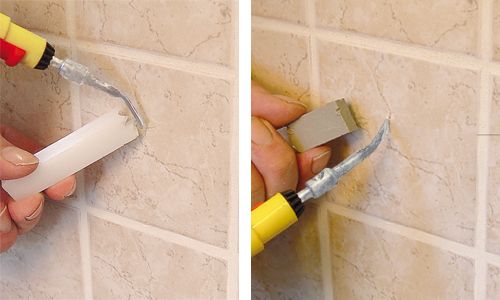
Remove excess material with the Special Fillers Applicator. Caution: Do not remove with a metal tool, as this will cause metal abrasion and the filled area will darken.
Remove excess material with the Special Fillers Applicator. Caution: Do not remove with a metal tool, as this will cause metal abrasion and the filled area will darken.
Step 4:
Finalise colour matching (e.g. for textured surfaces) and remove exess using the Special Fillers Applicator. Sand final unevenness with sandpaper and clean with a Cotton Cloth. For smooth and high-gloss surfaces, fill the last pores with the transparent filler and remove evenly with the Special Fillers Applicator.
Finalise colour matching (e.g. for textured surfaces) and remove exess using the Special Fillers Applicator. Sand final unevenness with sandpaper and clean with a Cotton Cloth. For smooth and high-gloss surfaces, fill the last pores with the transparent filler and remove evenly with the Special Fillers Applicator.
Step 5:
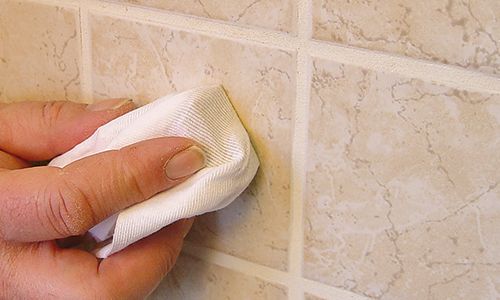
Clean the surface with the Cotton Cloth and Cellulose Thinner. Let the repaired area dry.
Clean the surface with the Cotton Cloth and Cellulose Thinner. Let the repaired area dry.
Step 6:
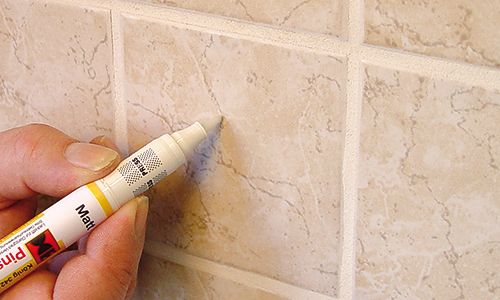
Seal with Brush Pen Clear Lacquer, selecting gloss or matte finish. Exception: seal white high-gloss surfaces with the corresponding Brush Pen Covering Lacquer High Gloss) (colours can be mixed with each other).
Seal with Brush Pen Clear Lacquer, selecting gloss or matte finish. Exception: seal white high-gloss surfaces with the corresponding Brush Pen Covering Lacquer High Gloss) (colours can be mixed with each other).
Step 7:
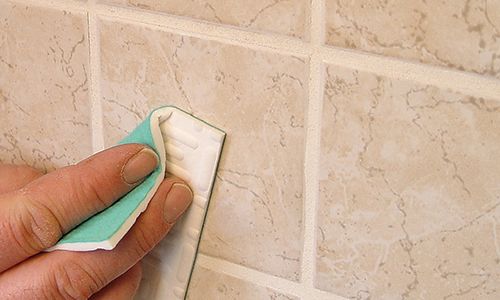
After the sealant has dried for approximately 4 hours at room temperature, you can perform a final gloss adjustment using the Sanding and Polishing Cloth. Use the white side of the cloth for a matte finish and the green side for polishing to a glossy finish.
After the sealant has dried for approximately 4 hours at room temperature, you can perform a final gloss adjustment using the Sanding and Polishing Cloth. Use the white side of the cloth for a matte finish and the green side for polishing to a glossy finish.
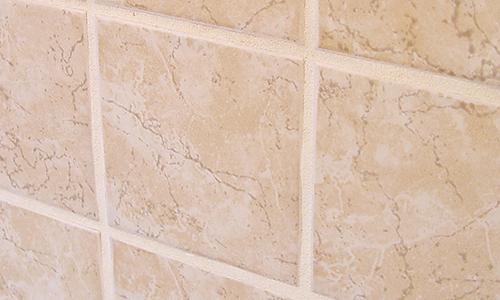
Before

After
