Step 1:
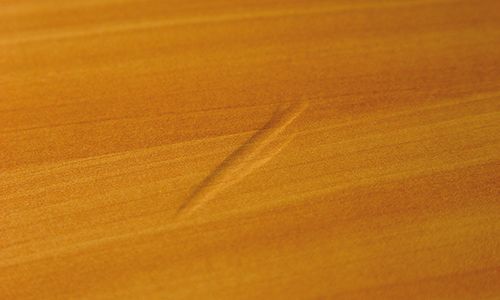
Ensure the area to be repaired is clean, dry and free of grease. Remove any loose or protruding praticles if necessary.
Ensure the area to be repaired is clean, dry and free of grease. Remove any loose or protruding praticles if necessary.
Step 2:
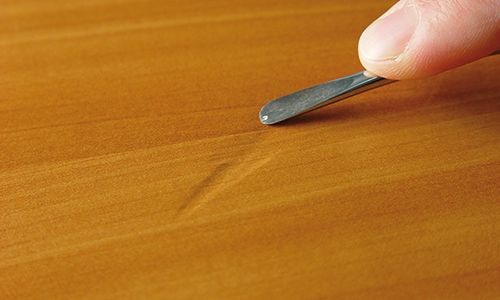
Use the rounded side of the Edge Planer to smooth down the damaged edge.
Use the rounded side of the Edge Planer to smooth down the damaged edge.
Step 3:
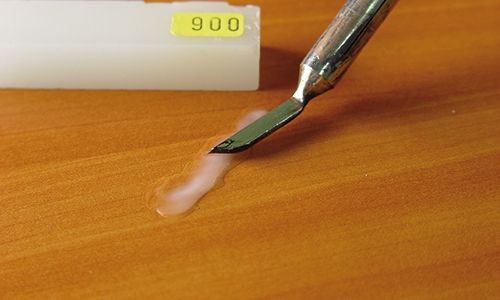
Activate the Gas Heating Iron and melt small portions of transparent Hard Wax Filler, allowing it to flow into the damaged area. The melting tip will help spread the wax precisely without creating large overhangs.
Activate the Gas Heating Iron and melt small portions of transparent Hard Wax Filler, allowing it to flow into the damaged area. The melting tip will help spread the wax precisely without creating large overhangs.
Step 4:
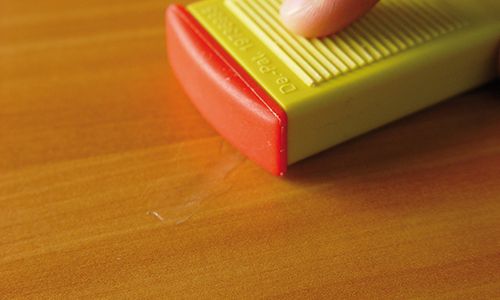
Use the sharp grooves of the Special Fillers Applicator to remove excess material. Note: use the sharp grooves for the surface and the rounded grooves for edges.
Use the sharp grooves of the Special Fillers Applicator to remove excess material. Note: use the sharp grooves for the surface and the rounded grooves for edges.
Step 5:
Seal the repaired area with Sprüh-König Special Repair Lacquer PLUS, or adjust the gloss level as needed. Spray from a distance of 30-40 cm in a fine mist – avoid heavy application.
Seal the repaired area with Sprüh-König Special Repair Lacquer PLUS, or adjust the gloss level as needed. Spray from a distance of 30-40 cm in a fine mist – avoid heavy application.
Before

After

