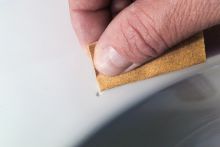
Step 1:
We work with the Repair Kit - Ceramic Sanitary Ware. The area to repair has to be clean, dry and free from grease. If necessary, remove any loose or protruding particles. TIP: Clean with alcohol or thinner. Remove discoloration at edge with the sandpaper or (tooth) brush.
We work with the Repair Kit - Ceramic Sanitary Ware. The area to repair has to be clean, dry and free from grease. If necessary, remove any loose or protruding particles. TIP: Clean with alcohol or thinner. Remove discoloration at edge with the sandpaper or (tooth) brush.
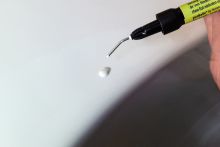
Step 2:
Remove the black cap from the Ceramic Filler. Attach the cannula firmly to the syringe. Apply the filler directly into the damaged area until area is slightly overfilled.
Remove the black cap from the Ceramic Filler. Attach the cannula firmly to the syringe. Apply the filler directly into the damaged area until area is slightly overfilled.
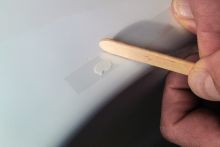
Step 3:
Place the clear filmstrip directly onto the filled area. Use the wooden spatula to flatten the filling material. Make sure no bubbles will develop under the film.
Place the clear filmstrip directly onto the filled area. Use the wooden spatula to flatten the filling material. Make sure no bubbles will develop under the film.
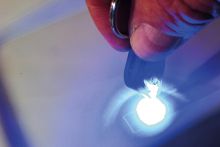
Step 4:
Cure the flled area by illuminating for approx. 5 - 10 minutes per cm² from a distance of not more than 1 cm. Curing time varies dependent on coat thickness. NOTE: If the filler no longer hardens, please replace the UV Lamp battery. IMPORTANT: Do not look directly into the LED Light, as this may lead to permanent eye damage.
Cure the flled area by illuminating for approx. 5 - 10 minutes per cm² from a distance of not more than 1 cm. Curing time varies dependent on coat thickness. NOTE: If the filler no longer hardens, please replace the UV Lamp battery. IMPORTANT: Do not look directly into the LED Light, as this may lead to permanent eye damage.
Step 5:
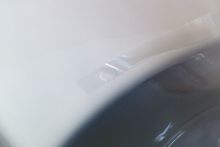
Remove the clear filmstrip when filler has cured.
Remove the clear filmstrip when filler has cured.
Step 6:
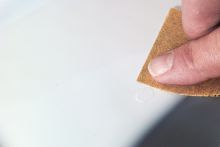
Use the Special Sandpaper to sand off excess material in a circular motion with light pressure until level. NOTE: Ensure not to sand through the filler!
Use the Special Sandpaper to sand off excess material in a circular motion with light pressure until level. NOTE: Ensure not to sand through the filler!
Step 7:
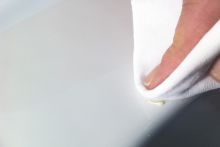
Apply a small amount of polishing paste to the repaired area and rub in with the cotton cloth in a circular motion using light pressure until the seheen matches the surrounding area. Clean away any polishes residue with a dry and clean part of the cotton cloth. Done! IMPORTANT: With damage of more than 1-1,5mm depth, it is necessary to work with several layers. Prefill and harden the damaged area (please see step 2-4) and repeat process.
Apply a small amount of polishing paste to the repaired area and rub in with the cotton cloth in a circular motion using light pressure until the seheen matches the surrounding area. Clean away any polishes residue with a dry and clean part of the cotton cloth. Done! IMPORTANT: With damage of more than 1-1,5mm depth, it is necessary to work with several layers. Prefill and harden the damaged area (please see step 2-4) and repeat process.
